
Fireteam Charlie
From Halopedia, the Halo wiki
| Fireteam Charlie | |
|---|---|

| |
|
Active: |
|
|
Affiliation: |
|
|
Branch: |
|
|
Size: |
Five operators |
|
Engagements: |
|
|
Notable commanders: |
|
Fireteam Charlie was a UNSC UNSC Marine Corps fireteam that served aboard the UNSC Pillar of Autumn and participated in the Battle of Installation 04.[1][2][3]
Known members[edit]
- Final composition (September 20, 2552)[Note 1]
- Sergeant Major Avery Johnson
- Private Bisenti
- Private Wallace Jenkins
- Private Manuel Mendoza
- Private Riley
- Former members
- Private O'Brien (c. August 30, 2552)
- Private First Class M. Fitzgerald (c. September 19, 2552)
- Sergeant Parker (c. September 19, 2552)
Operational history[edit]
Fall of Reach[edit]

- Main article: Fall of Reach
During the final stages of the Fall of Reach, an element of Fireteam Charlie—consisting of Sergeant Major Avery Johnson and Privates Bisenti, O'Brien, and Wallace Jenkins—was stationed aboard Gamma Station in orbit above the planet. The team was fighting a large group of Kig-Yar Rangers in a hangar bay when MCPO John-117 and Petty Officer Linda-058 boarded the station. The marines assisted the Spartans in destroying the NAV database of the prowler UNSC Circumference. Once this was accomplished, the marines joined the Spartans to evacuate aboard the Pillar of Autumn. The Autumn, with Fireteam Charlie aboard, then jumped away from the battle.[5]
Battle of Installation 04[edit]
- Main article: Battle of Installation 04
When the Autumn arrived at Installation 04 on September 19, it was attacked by the Covenant, marking the beginning of the Battle of Installation 04. In response, Captain Jacob Keyes ordered all personnel to evacuate the ship and make landfall on the ring.[6] Fireteam Charlie was among the first marine units to combat Covenant boarders.[7] The marines eventually escaped aboard an SKT-9 Bumblebee, making a crash landing on the ring before finding refuge at a nearby beacon tower. The survivors soon came under attack from Covenant forces,[1] but were rescued by John-117, with Bisenti being the first to greet the Spartan as he approached.[2] While the other members of the squad were evacuated by Echo 419 to Alpha Base,[1] Fitzgerald remained behind to assist John-117 in his search for nearby lifeboats and survivors.[2]

On the evening of September 19, Fireteam Charlie joined John-117 on a mission to rescue Captain Keyes, who had been captured by the Covenant and was being held aboard the Ket-pattern battlecruiser Truth and Reconciliation. The team deployed alongside the Spartan to secure the ship's gravity lift.[8][9] After boarding the ship, Sergeant Parker and his marines remained on the ship's bridge while the Master Chief retrieved the Captain from the brig.[10] Any surviving members of Fireteam Charlie escaped the cruiser with John-117 and Captain Keyes aboard a stolen Spirit dropship.[11][Note 2]
Members of Fireteam Charlie were later integrated into a larger "first squad" alongside other marines.[Note 1] They accompanied Captain Keyes to secure a supposed Covenant weapons cache that a captured Sangheili, 'Qualomee, had disclosed to them during an interrogation.[3] Unbeknownst to the UNSC forces, the "cache" was actually a Flood containment facility. Inside the structure, the marines and Captain Keyes were ambushed by Flood pod infectors.[12] Nearly all members of first squad were transformed into attacker forms. Avery Johnson managed to fight his way out of the facility, killing several of his infected comrades in the process,[13] while Jenkins was infected by an unusually weakened Flood infector form that failed to completely overwrite his consciousness.[3] Manuel Mendoza attempted to escape; his uninfected body was left lying against the door.[12]
Fireteam Charlie was effectively destroyed in the ambush. The infected marines were subsequently killed either by Johnson during his escape,[13] or by John-117 when he investigated the structure a few hours later.[12] The partially self-aware, Flood-infected Jenkins was later forced to participate in an attack on UNSC forces led by Melissa McKay, during which he was ultimately captured.[14] Jenkins managed to alert the UNSC to the Flood's presence below Alpha Base, allowing the marines to exterminate the infestation.[15] Later, after being brought aboard the newly captured Truth and Reconciliation, Jenkins' actions directly contributed to the destruction of the ship, preventing the Flood from escaping the ring.[16]
Production notes[edit]
Fireteam Charlie and its named members serve as the canonical identities for the various distinct marine voice profiles and scripted dialogue featured in Halo: Combat Evolved. These specific marine characters appear throughout the game as standard non-playable characters. As a result, the marines can be killed during gameplay, yet their character models and voice profiles will appear in subsequent levels. In-universe, these reused game assets act as placeholders to represent other unnamed marines. This is best exemplified during the level Assault on the Control Room: canonically, Fireteam Charlie is in the Flood containment facility with Captain Keyes during the chronological events of this level; however, marines with Fireteam Charlie's voices still appear alongside the Master Chief on Assault on the Control Room. In this context, the marines are canonically meant to represent members of Fireteam Zulu (as well as Fireteam Yankee in Halo: Campaign Evolved), rather than the actual members of Fireteam Charlie.
Gallery[edit]
Halo: Combat Evolved[edit]
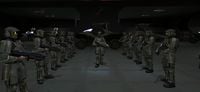 Fireteam Charlie and other marines stand at attention as Sergeant Johnson rallies the marines.
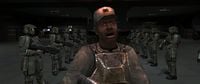 Sergeant Johnson gives a speech to Fireteam Charlie and other marines.
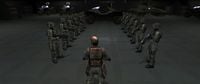 Fireteam Charlie and other marines reply in the affirmative to Johnson.
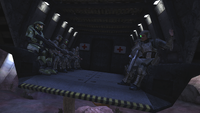 Fireteam Charlie and John-117 prepare to deploy from Echo 419 to board the Truth and Reconciliation.
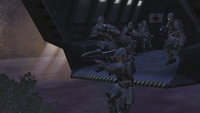 Fireteam Charlie deploy from Echo 419.
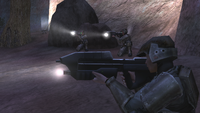 Fireteam Charlie after deployment from Echo 419.
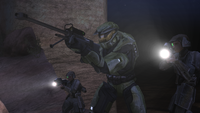 Fireteam Charlie and John-117 in the plateau underneath the Truth and Reconciliation.
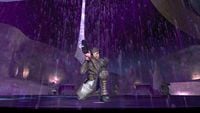 Fireteam Charlie secures the gravity lift into the Truth and Reconciliation.
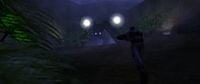 Fireteam Charlie moves through a rainy swamp and into a Forerunner structure.
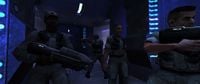 Fireteam Charlie, accompanied by Captain Keyes, hold their position outside a locked door.


Halo: Combat Evolved Anniversary[edit]
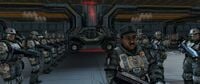 Fireteam Charlie and other marines stand at attention as Sergeant Johnson rallies the marines.
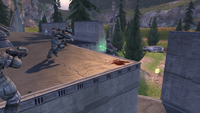 Fireteam Charlie engaging Covenant forces on the surface of Installation 04.
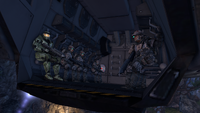 Fireteam Charlie and John-117 prepare to deploy from Echo 419 to board the Truth and Reconciliation.
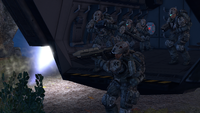 Fireteam Charlie deploy from Echo 419.
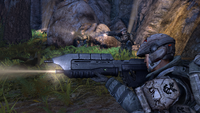 Fireteam Charlie after deployment from Echo 419.
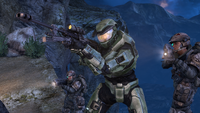 Fireteam Charlie and John-117 in the plateau underneath the Truth and Reconciliation.
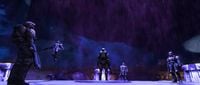 Fireteam Charlie and John-117 about to board the Truth and Reconciliation.
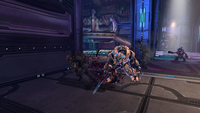 A member of Fireteam Charlie is killed by Lat 'Ravamee.
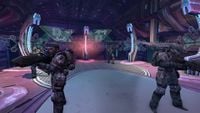 Members of Fireteam Charlie onboard the Truth and Reconciliation.


Halo: Campaign Evolved[edit]
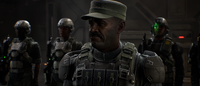 Fireteam Charlie and other marines stand at attention as Sergeant Johnson rallies the marines.
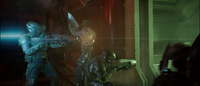 Fireteam Charlie repelling Covenant boarders on the Autumn.
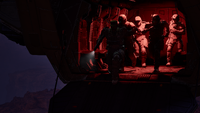 Fireteam Charlie deploy from Echo 419.
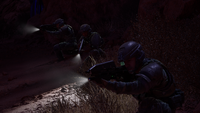 Fireteam Charlie after deployment from Echo 419.
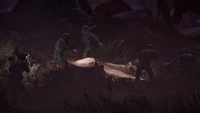 Johnson giving commands to Fireteam Charlie.
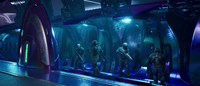 Fireteam Charlie boarding a Spirit to escape from the Truth and Reconciliation.
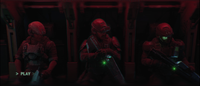 Fireteam Charlie aboard Victor 086.
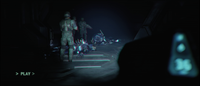 Fireteam Charlie investigates dead Sangheili in the Flood containment facility.
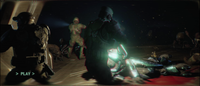 Fireteam Charlie fighting the Flood in the containment facility.


List of appearances[edit]
- Halo: Combat Evolved (First appearance)
- Halo: The Flood
- Halo Graphic Novel
- Halo: Combat Evolved Anniversary
- Halo: Campaign Evolved
Notes[edit]
- ^ a b While inside the Flood containment facility, the number of marines under the command of Johnson and Keyes exceeds the typical size of a fireteam, which is normally three or four operators.[4] Given the mention of a second squad, Fireteam Charlie was likely one of multiple fireteams that formed a "first squad," even though no characters explicitly use that designation in Halo: Combat Evolved or its adaptations. Because only Johnson, Bisenti, Jenkins, Mendoza, and Riley are seen aboard Victor 086 in the cinematic, it is likely that other identifiable marines—such as Kappus and the "Crazy Marine"—belong to different fireteams within the first or second squad, and simply joined Johnson's group during the descent into the facility. Consequently, neither Kappus nor the "Crazy Marine" are included in this list of known members.
- ^ The specifics regarding Parker's involvement, along with the ultimate fate of the marines left on the bridge, vary between Halo: Combat Evolved and its adaptations. See here.
Sources[edit]
- ^ a b c Halo: Combat Evolved, campaign level Halo
- ^ a b c Halo: The Flood, chapter 3
- ^ a b c Halo: The Flood, chapter 6
- ^ Halo Encyclopedia (2022 edition), page 56-57
- ^ Halo: The Fall of Reach, chapter 37
- ^ Halo: Combat Evolved, campaign level The Pillar of Autumn
- ^ Halo: Campaign Evolved, campaign level The Pillar of Autumn
- ^ Halo: Combat Evolved, campaign level The Truth and Reconciliation: "Cortana to Fireteam Charlie. The Chief has the left flank covered. Recommend you move up the middle."
- ^ Halo: Combat Evolved, campaign level The Truth and Reconciliation: "Cortana to Fireteam Charlie. The Chief has secured the middle. Get ready to move up the left, you should be able to flank the enemy."
- ^ Halo: The Flood, chapter 4
- ^ Halo: Campaign Evolved, campaign level The Truth and Reconciliation
- ^ a b c Halo: Combat Evolved, campaign level 343 Guilty Spark
- ^ a b Halo Graphic Novel - Breaking Quarantine
- ^ Halo: The Flood, chapter 9
- ^ Halo: The Flood, chapter 10
- ^ Halo: The Flood, chapter 12


