Category:Images of A2 Hydroelectric Facility
From Halopedia, the Halo wiki
Images of the A2 Hydroelectric Facility and its surrounding area.
Media in category "Images of A2 Hydroelectric Facility"
The following 79 files are in this category, out of 79 total.
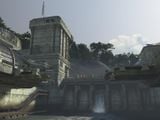 A2Dam 2.jpg 1,536 × 1,152; 158 KB
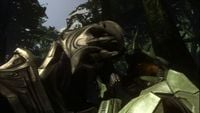 Arbiter Jungle2.jpg 1,280 × 720; 128 KB
 ArrivalCortanmoment.jpg 1,365 × 588; 149 KB
 Arrivaldepart.jpg 1,365 × 587; 57 KB
 Arrivalgather.jpg 1,365 × 588; 120 KB
 Arrivalma5c.jpg 1,365 × 587; 121 KB
 Arrivalwarning.jpg 1,365 × 588; 139 KB
 Brute with Shield.jpg 1,920 × 1,080; 1.65 MB
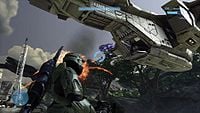 Defending the Pelicans.jpg 1,005 × 567; 143 KB
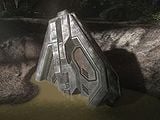 Fr dreadnought doorpiece.jpg 1,536 × 1,152; 196 KB
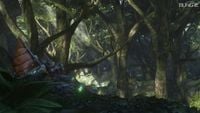 Grunt Jungle.jpg 1,920 × 1,080; 1.61 MB
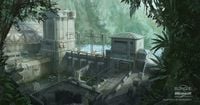 H3 A2Hydro Concept 1.jpg 1,300 × 683; 1.19 MB
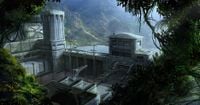 H3 A2Hydro Concept 2.jpg 934 × 490; 112 KB
 H3 Arrival.PNG 635 × 361; 397 KB
 H3 Dam concept.jpg 320 × 240; 73 KB
 H3 Damn Base Screenshot 1.png 1,916 × 953; 3.18 MB
 H3 Damn Base Screenshot 2.png 1,916 × 953; 3.21 MB
 H3 Damn Bridge Screenshot.png 1,916 × 953; 3.07 MB
 H3 Damn Screenshot 1.png 1,916 × 953; 2.84 MB
 H3 Damn Screenshot 2.png 1,916 × 953; 2.61 MB
 H3 Damn Screenshot 3.png 1,916 × 953; 2.63 MB
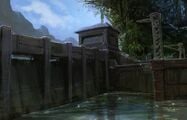 H3 HydroConcept.jpg 800 × 515; 246 KB
 H3 LZ Storyboard.jpg 320 × 240; 67 KB
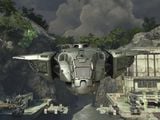 H3 Pelican Anvil-II.jpg 1,024 × 768; 104 KB
 H3 S117 Grunts.jpg 1,920 × 1,080; 1.93 MB
 H3 Sierra 117 Reynolds captured.jpg 1,920 × 1,080; 253 KB
 H3 Sierra 117 Two Johnsons Glitch.jpg 658 × 494; 40 KB
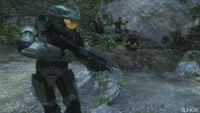 H3 Sierra117 Marines.jpg 1,920 × 1,080; 1.69 MB
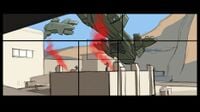 H3 Sierra117 Storyboard 14.jpg 1,864 × 1,048; 219 KB
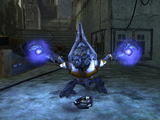 H3 Suicide Grunt Minor.png 1,536 × 1,152; 1.88 MB
 HailToTheChief.jpg 2,224 × 1,520; 598 KB


