Archive:Halowars.com/Skirmish Maps/1v1 Maps
From Halopedia, the Halo wiki
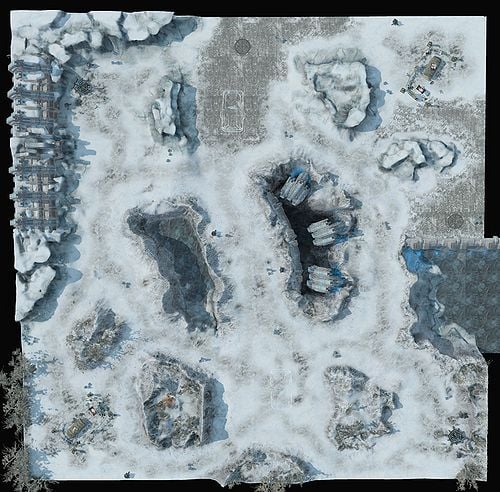
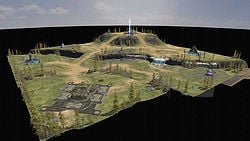
Tundra 1v1
Artist Notes
Paul Slusser, Skirmish Map Artist, talks about Tundra:
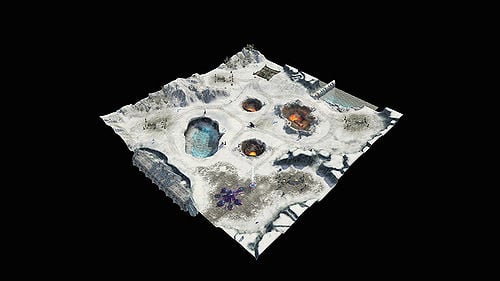
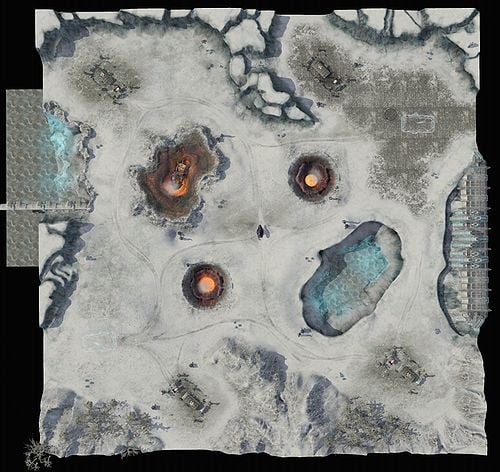
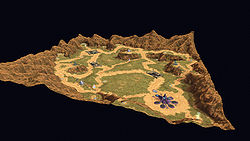
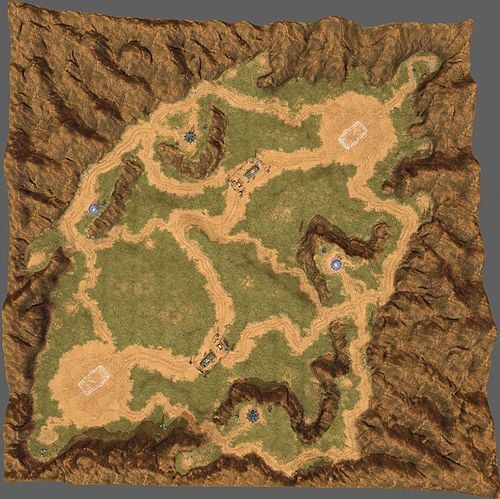
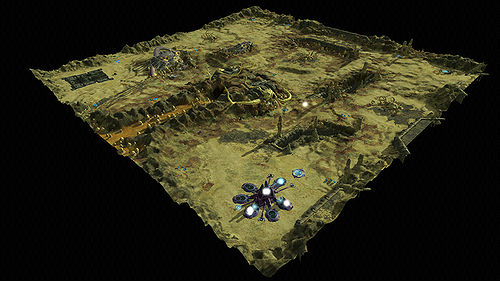
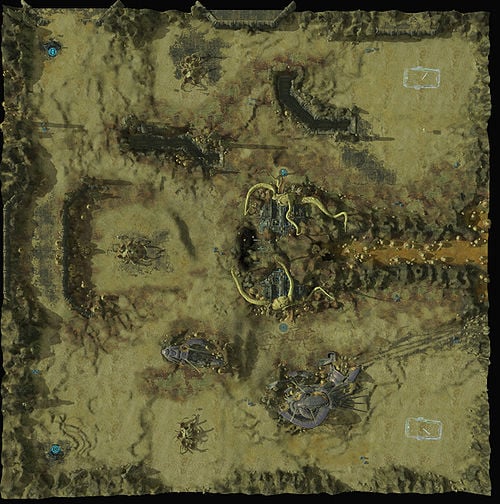
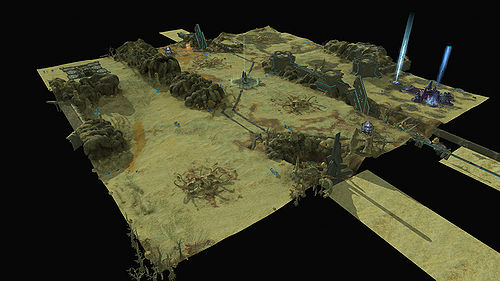
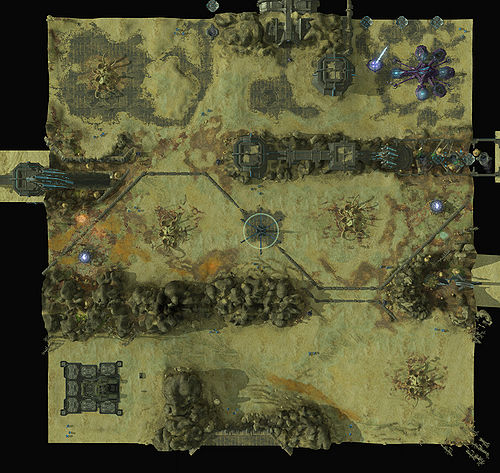
Tundra, home of the World’s Luckiest Mega Turret. I always wondered if someone would notice that 3 meteors crashed into the ground, just missing it? Speaking of those craters, I remember Shannon Dees, an artist at Ensemble, spending a lot of time perfecting those ground shattering, lava filled, smoke fuming holes. It’s funny how we’ll spend the most time on what you would think would be the simplest of things, the terrain. We see it every day on our way to work, in movies, in books, and on HDTV, so we know what it should look like. It’s one of those things when your art is off by just a little bit, it just looks terrible! But since it’s only off by just a bit, it usually can all be fixed with a subtle tweak here and there and then all of sudden; PERFECTION!
Tundra was my personal Legendary A.I. test map. I liked it because I could sometimes funnel his attacks by garrisoning in the sniper towers. Those sniper towers are great as an early warning system to incoming attacks, especially during the early game when the A.I. has a huge advantage on you. Most maps don’t have such stall tactics as this, so it’s a good Legendary practice map.
Designer Notes
Justin Rouse, Multiplayer Map Designer, talks about Tundra:
Iterations: Tundra, the large open 1v1 map with a Mega turret shooting everyone. Sounds like an easy bar to hit but the Mega turret was cut from the story and was no longer going to be created at one point, so I was left with just a large open 1v1. Since I still wanted some interesting decisions to be made I put in more craters to break-up the map, but that alone just didn’t seem interesting enough watching people play this map in playtest. This is when I came up with the wall tower hooks. Putting the wall towers and the higher difficulty creeps guarding the close expansion bases gave me more of the game play I wanted to see for this map. Later on in the project the Covenant Mega turret was back in the production plan and was back on the map and became my favorite one to play.
Blood Gulch 1v1
Design Notes
We wanted a throwback map for Halo Wars that Halo Players would be familiar with. Blood Gulch is one of the more popular Halo multiplayer maps, and it was an easy choice. It's nice and open, with some cliffs on the sides for variety. The little nooks and crannies made excellent places for crates, and keeping the teleporters in roughly the same place was an easy call.
The original Blood Gulch wasn't a square, more of a rectangular canyon, so we had to do something funky with it so that Players wouldn't be scrolling over empty space. We had to use a larger base map, and then restrict the viewing area to a rectangle.
We put the hooks on the outside of the map and sort of isolated so that players who take them can have a big advantage. The 2 extra bases in the middle of the map are close enough to each other that a lot of fighting takes place within range of their turrets, and that middle area can be a great place to control.
Tactics
Blood Gulch is a small map with little in between you and your opponents bases. Well, there are the extra bases with their guards in the way, but you should try to take those as quickly as possible. If you're feeling spunky, go for your opponents extra base, and try fortifying it early. It will be quite a surprise for them when they come to take it to be met with some turrets and a small army.
The hooks are also very important, each team has a reactor close by on one side and a Supply Elevator on the other. Getting both reactors early can enable you to tech up without having to spend a base slot on a Reactor, although it is risky if you lose one of them.
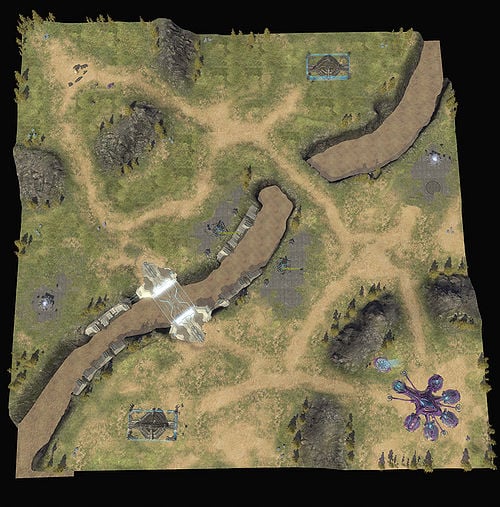
Chasms 1v1
Designer Notes
Justin Rouse, Skirmish Map Designer, on Chasms:
Chasms was the map that was shipped with the Multiplayer Alpha Test that Ensemble and Microsoft used internally, so it required a lot of testing to make sure that everything was in good shape for semi-public consumption. It has changed quite a bit since its inception mainly due to it being the Inaugural map for Halo Wars. Chasms was the measuring stick for a lot of the systems used in HW, whether they be technical, strictly visual, or gameplay based.
The first thing that sticks out in my mind is the wrestling match between height(visual look) and gameplay. Large cliffs and hills look really good, especially when they can contrast the depths of the center chasms but when they interfere with how a player sees units and things on his screen that’s obviously bad. There we many adjustments to the hills and cliffs near the center bases to account for visibility issues that arose after alpha test feedback had us move the starting location from the now corner expansion bases the center ones where they live now. We quickly learned what players could live with and those hills were just too high. For whenever we felt we needed something to be really tall for the feel of the map, we pushed those areas towards the edge of the map where visual interference is much less painful.
Tactics
Duncan Stanley, Community Manager, dishes out the dirt on Chasms:
Chasms was the map that was shipped with the Multiplayer Alpha Test that Ensemble and Microsoft used internally, so it required a lot of testing to make sure that everything was in good shape for semi-public consumption. It has changed a bit since then, but it’s still a great 1v1 map.
The direct short path between you and your opponent can often lead to some crazy fast rushes. You are just a stone’s throw away, and getting a turret or two up quickly can often be a game-changer. There also lots of crates all around your starting area, so building a second scout and grabbing yours (and your opponents crates!) can help you get a leg up quickly.
If a rush doesn’t happen in this game, grabbing the supply elevators in the corners of the map is a great way to get some experience for your troops and a steady supply of resources. Rebel Bases cover both expansions, and can be difficult to take early on if you are skirmishing with your opponent, but can really make all the difference if you have an expansion and your opponent does not.
Another great tip is to plan some Spartans or Jackals in the Watchtowers in the middle bridge, they provide some great early warning to anything coming across the bridge, and can often be fairly difficult to take down, making them great for delaying your enemy.
Pirth Outskirts 1v1
Artist Notes
Paul Jaquays, Skirmish Map Artist, talks about developing Pirth Outskirts:
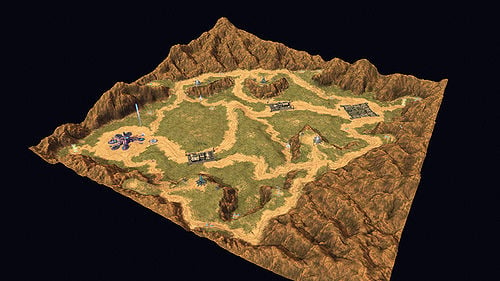
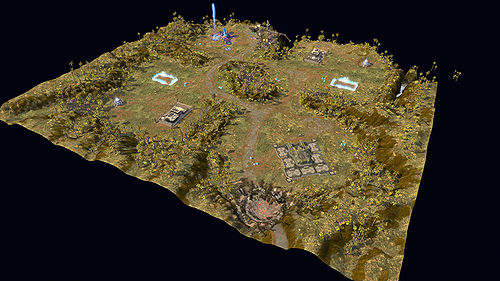
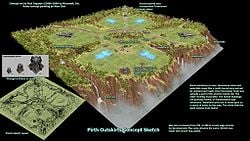
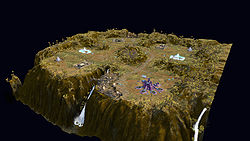
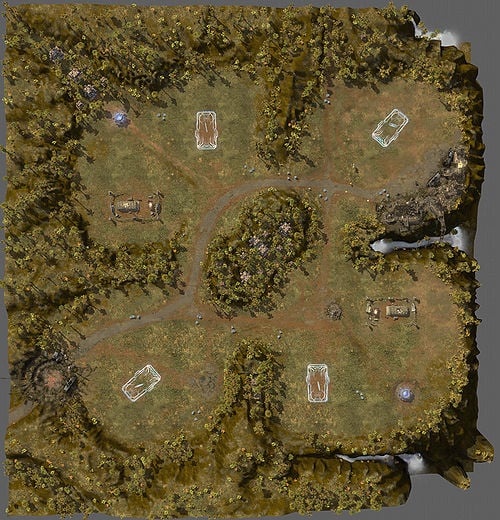
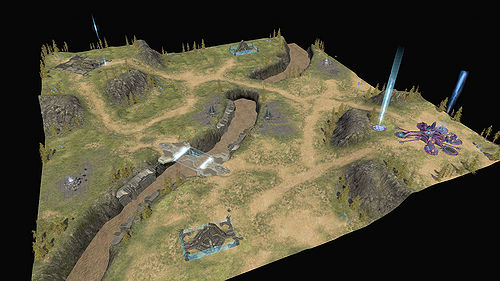
I hold to the design philosphy that even skirmish maps should tell stories that reveal something about the the game world's history and recent events. Each of my Halo Wars maps, including Pirth Outskirts strives to achieve that. Like most assignments, this one began with a basic, unadorned map layout from design. In this case, a simple, elegant cloverleaf layout by designer Kevin Holme and an instruction to set the map on the jungle environment of the Arcadia game world. I started low-tech and roughed out my ideas for the game setting in a simple pencil sketch. I initially envisioned a sort of "Shang-ri-la" lost city setting with the ruins of a lost civilizaton in the center and plateaus edged by cliffs. The four leaves of the clover (Clover was also the working title for the map) had to be flat, but from the first, I saw the map as a series of descending terraces, connected by sloping roadways that would visually guide the players through it.
In my concept paint-over (a quick digital painting that shows the map and major features as they might appear in game ... with notes and reference photos attached), I built around the idea that wherever mankind explores, tourists typically follow. I developed the area as a remote vacation destination with mysterious ancient ruins, modern hotels, and dramatically steep, mist-shrouded cliffs into which breathtaking waterfalls poured majestically. On top of this, I layered the planet's recent, tragic history. Covenant bombs had cut the area off from the cities and turned the man-made structures into smoking rubble. The wreckage of mankind's attempt to flee the invasion was littered through the setting.
During production development, the hotels became smouldering Oni research stations, but the rest of the map stayed refreshingly true to both the designer's original layout and my initial art ideas, right down to the majestic waterfalls.
Paul Jaquays is a former Ensemble Studios artist who now develops games as Senior Level Designer for CCP North America.
Tactics
Duncan Stanley, Community Manager, gives his take on how do to well on Pirth Outskirts.
Pirth is a pretty small map, and although it seems like there's a lot of stuff in between you and your opponents base, it only takes a few seconds to get there.
The reactor hooks are also very important to get, and if you're quick, you can skip building a reactor at all, which can make all the difference in the world.
Infantry is usually pretty helpful here, given how small the map is, and the hooks. Infantry is also good to have because they build so quickly, and are good to spam if you need to.
A game for me usually involves building a few extra scouts to grab crates and the free base slot. I usually try to grab my "opponent's" base, just to throw him off his game. From there, I usually try to grab one or both reactors, and start pumping out units. After scouting, I'll try to make some counters which usually involves a couple pieces of armor.
If I can get 2 extra bases up and running while keeping my opponents to 0 or 1, I usually have the game in the bag. I always try to keep some pressure on their main base, and that's easy to do. I usually end up losing if I'm put on the defensive early on and am not able to expand. A couple turrets at a forward base will usually turn back an early enemy advance.
Release 1v1
Designer Notes
Justin Rouse, Multiplayer Map Designer, talks about the making Release:
Making of: While creating Release, the task at hand was to create a map where it wasn’t the typical faceoff starting locations where you walk straight across the field and attack your enemy. On top of that, the flood had to play a part but without being able to control them while keeping them relevant throughout the game. This is where the abandoned Forerunner installation that the flood are stuck in idea came from. Originally, you could target where the flood would attack, then players still wanted the ability to continually control where the Flood move and attack but we felt that didn’t work inside the Halo lore. This is how we ended up with the Flood moving out of their Gate attacking a location on same side of the map but then we let a “Flood AI” take control of the army and randomly decide what should be attacked next. Having the Forerunner installation in the center of the map and tucking the players off to the corners on the same side, while forcing them to move around the installation to get to each other satisfied the non-typical 1v1 start at the same time. The Flood then become a sort of buyer beware item because they should attack your enemies side first but they may choose to attack you soon after from anywhere on the map. These two things combine to make Release a very Unique map in the Halo Wars arsenal.
Tactics
Release is the only map where you have a little bit of “Control” over the flood in Halo Wars. You quickly learn that controlling the Consoles that release the flood is key to victory but many players make the mistake of using the flood as a solitary attack strategy. If you know you can open the flood gate multiple times in quick succession, at the level three flood army size, then they may be enough on their own but until you’re at that point you should use the flood as a supplementary attack force. Early on whenever you’re planning an attack, if possible you should open the release gate around 20seconds before your attack will hit the enemy. This makes the flood army a distraction while the real attack comes in from hopefully and undefended angle. Keeping your opponent busy in two locations can usually earn you a win but if you’re mistiming your attacks and just feeding flood into his large army you may be throwing experience at his forces causing them to gain veteran levels ahead of you which is definitely not the desired outcome.
Barrens 1v1
Barrens Notes
Justin Rouse, Multiplayer Map Designer, talks about Barrens:
Going into the DLC we knew we wanted another flood map but which size to make? I choose a 1v1 because of the frequency of games played on 1v1 maps and only having 1 that you could see some of the cool flood units on just didn’t feel like it was enough. We felt the layout was pretty interesting because of it’s “maze’ishness”. As with most maps, to make the gameplay interesting you need to draw the player away from his starting area. Barrens has no problems drawing a player out, when looking at the map from a top down view you can slice the map into thirds using the cliffs and valleys as divide between each segment. While looking at the map in this manner you can see why a player wants to get into that middle third pretty quickly. With 2 Reactor hooks, 2 Expansion base locations, and a Spire of Healing in the center controlling the middle third can be very advantageous. The other benefit of the windy layout is the added distance between players at the beginning of the game. The little bit of extra time it takes can make a rush a bit easier to defend but at the same time a player can’t allow their enemy to control the center of the map for too long either. All in all, we’re pretty happy with how Barrens turned out and hope you enjoy it as well.
Tactics
Barrens has some interesting gameplay for any leader but Forge is my favorite option. The layout and hooks play into Forge’s strengths exceptionally well. Barrens forces you to leave you expansions more secluded from each other than normal, early game this can allow a Forge player to gain a bit more advantage from his boosted supply pads while other players have to spend their early game resources upgrading pads if they don’t want to risk the far away expansion. When playing as Forge my endgame plan is always formulated around having an army of Scorpions and upgrading them to Grizzlies as soon as possible, but most of the time this is easier said than done. Although, Barrens is another 1v1 map that offers the reactor hook, clearing away the nearby flood and gaining access to one of these hooks allows me to jump up in tech level quickly. It’s also the only 1v1 map to have the healing spire on it. This hook synergizes well with a tank strat because it can help you keep those expensive units alive and gaining veterancy throughout the course of the game. Combine all these advantages and your Forge heavy armor can have a lot of success on this 1v1 map.
Blood River 1v1
Blood River Notes
Justin Rouse, Multiplayer Map Designer, talks about Blood River:
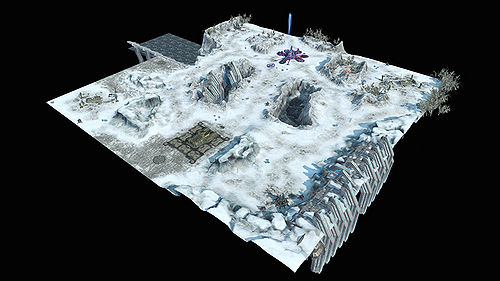
Blood River, a straight forward 1v1 map that has a little bit of something for everyone. With starting positions placed in opposite corners, up on a hills, and a river with only 2 crossings above it, even the inexperienced player can feel relatively safe at the onset of a Blood River match. Then there’s the look, we chose this map to be set inside of the Forerunner shield world simply because we didn’t have one in that location yet. We always intended to make sure players of all game sizes (1v1, 2v2, 3v3) have a chance/choice to play on all our worlds. Blood River was a good fit because it has cliff edges, places for Forerunner embellishments like the light bridge, and we could work in some of water. For the Halo Wars enthusiast, we found two of most sought after hooks are the Bonus Reactors and Supply Elevators. Putting in two of each on this map makes a lot of players giddy, which we like.
Tactics
Duncan Stanley, Community Manager, spits some game about Blood River:
Blood River is a small enough map where infantry can be very effective. The many hooks on the map, and scout towers make infantry a smart choice. The base positions at the top of hills make turrets very effective here, but you still need to get out with your army to collect all the crates and get into a hook or two early on. If you're feeling lucky, crossing the bridges and capturing one of your opponent's hooks is also a good strategy. With that you can force your opponent to fight for his own hooks and that can be very advantageous.
If you can hold the middle and keep pressure on your opponent, you can spend some time building armor or flying units which can really turn the tide of a battle, especially against UNSC. If they build a flame thrower army to counter your infantry, some flying units can really tear them up.
Given how small the map is, it's very risky to try to boom on this map, map control early on is much more important than going for late game heroics with super units.
